
In this step you install Dirac Live on your computer, prepare your receiver and get the two talking to each other. By the end you’ll be on the Volume Calibration screen with your microphone recognised.
Prepare your receiver first
Beginner
- Update the receiver to its latest firmware.
- Connect the receiver to your home network, wired or Wi-Fi. The option is in the receiver’s network settings (on Denon and Marantz, for example: Setup Menu, Network, Connection).
- Set the Speaker Layout (which speakers you have and where) before you calibrate. Changing it later deletes your Dirac filters.
- Unplug any headphones from the receiver.
- If you’ll use Room Correction only, set your crossovers yourself in the receiver (for example, on Denon and Marantz: Setup Menu, Manual Setup, Crossovers). Bass Control and ART set them for you.
Denon and Marantz: your first Dirac calibration is saved to Speaker Preset 2, which copies the layout and crossovers from Preset 1. Your existing Audyssey setup stays in Preset 1, so you can switch back at any time.
Install Dirac Live on your computer
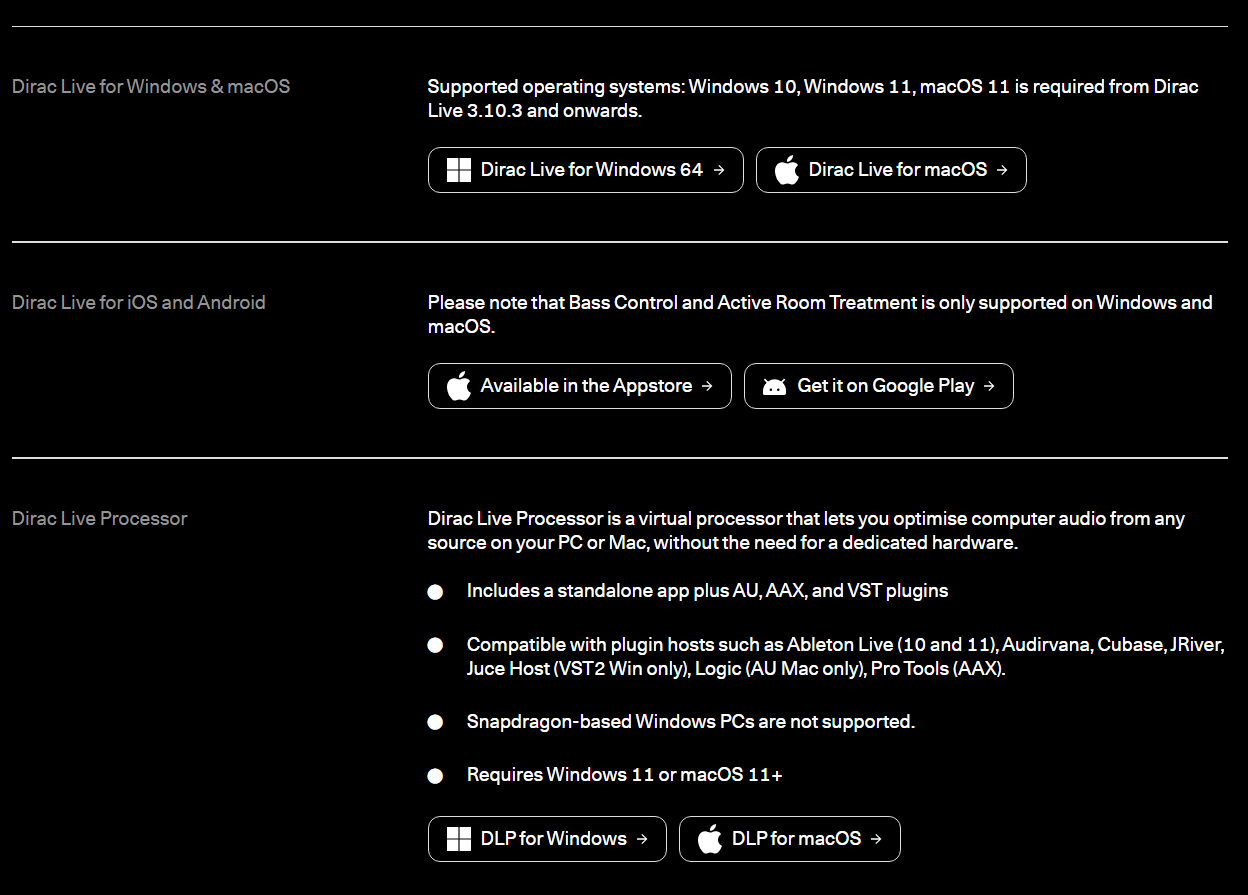
- Download Dirac Live from the Dirac Live downloads page. There are versions for Windows and macOS, plus phone apps for iOS and Android.
- Install it and open it.
- Log in with the Dirac account you bought your licence on (Step 1). Forgotten your details? Use dirac.com/login to reset them.
Using the phone or tablet app instead? That only works with the microphone that came with your receiver. For a UMIK-1 or UMIK-2 you need the computer version.
Connect to your receiver
- Put the computer on the same network as the receiver. Not a guest network, and turn off any VPN.
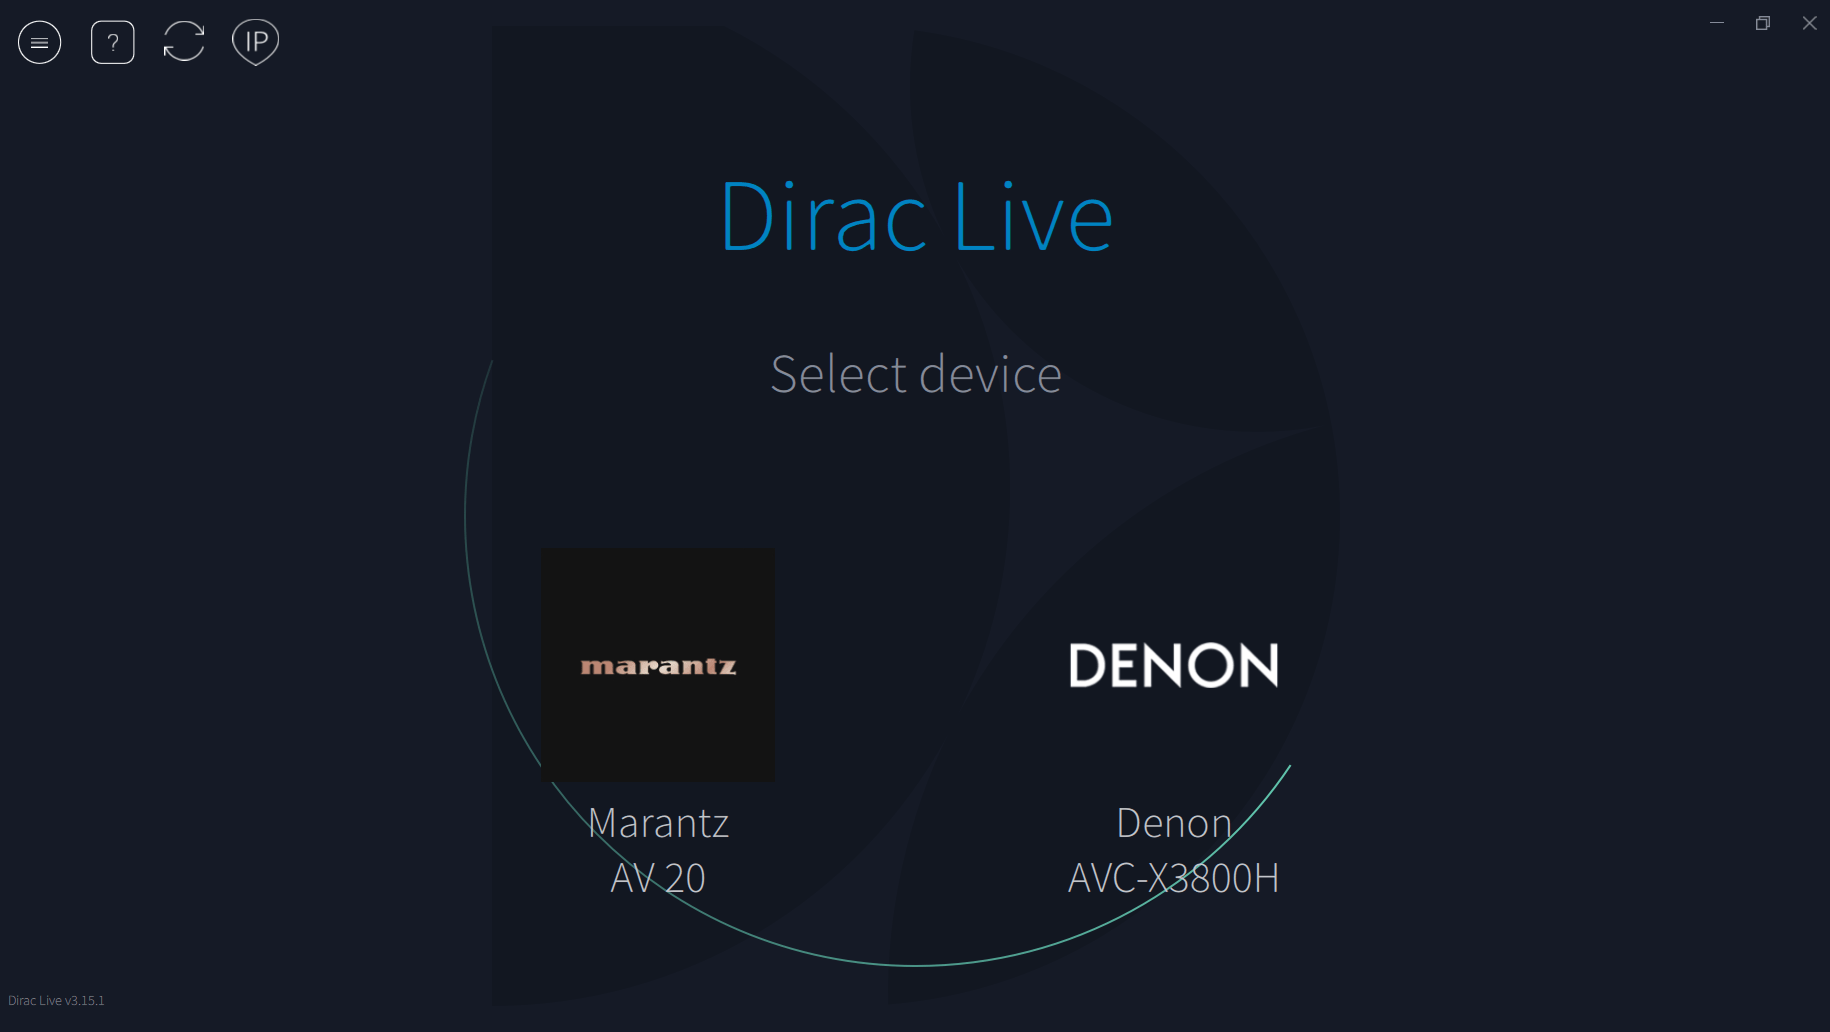
- Dirac Live searches for devices automatically. Your receiver should appear in the list. Select it.
- If it doesn’t appear, click Rescan. If it still doesn’t appear, enter the receiver’s IP address manually (you’ll find it in the receiver’s network information menu).
- If Windows asks whether Dirac Live may use the network, allow it on private networks.
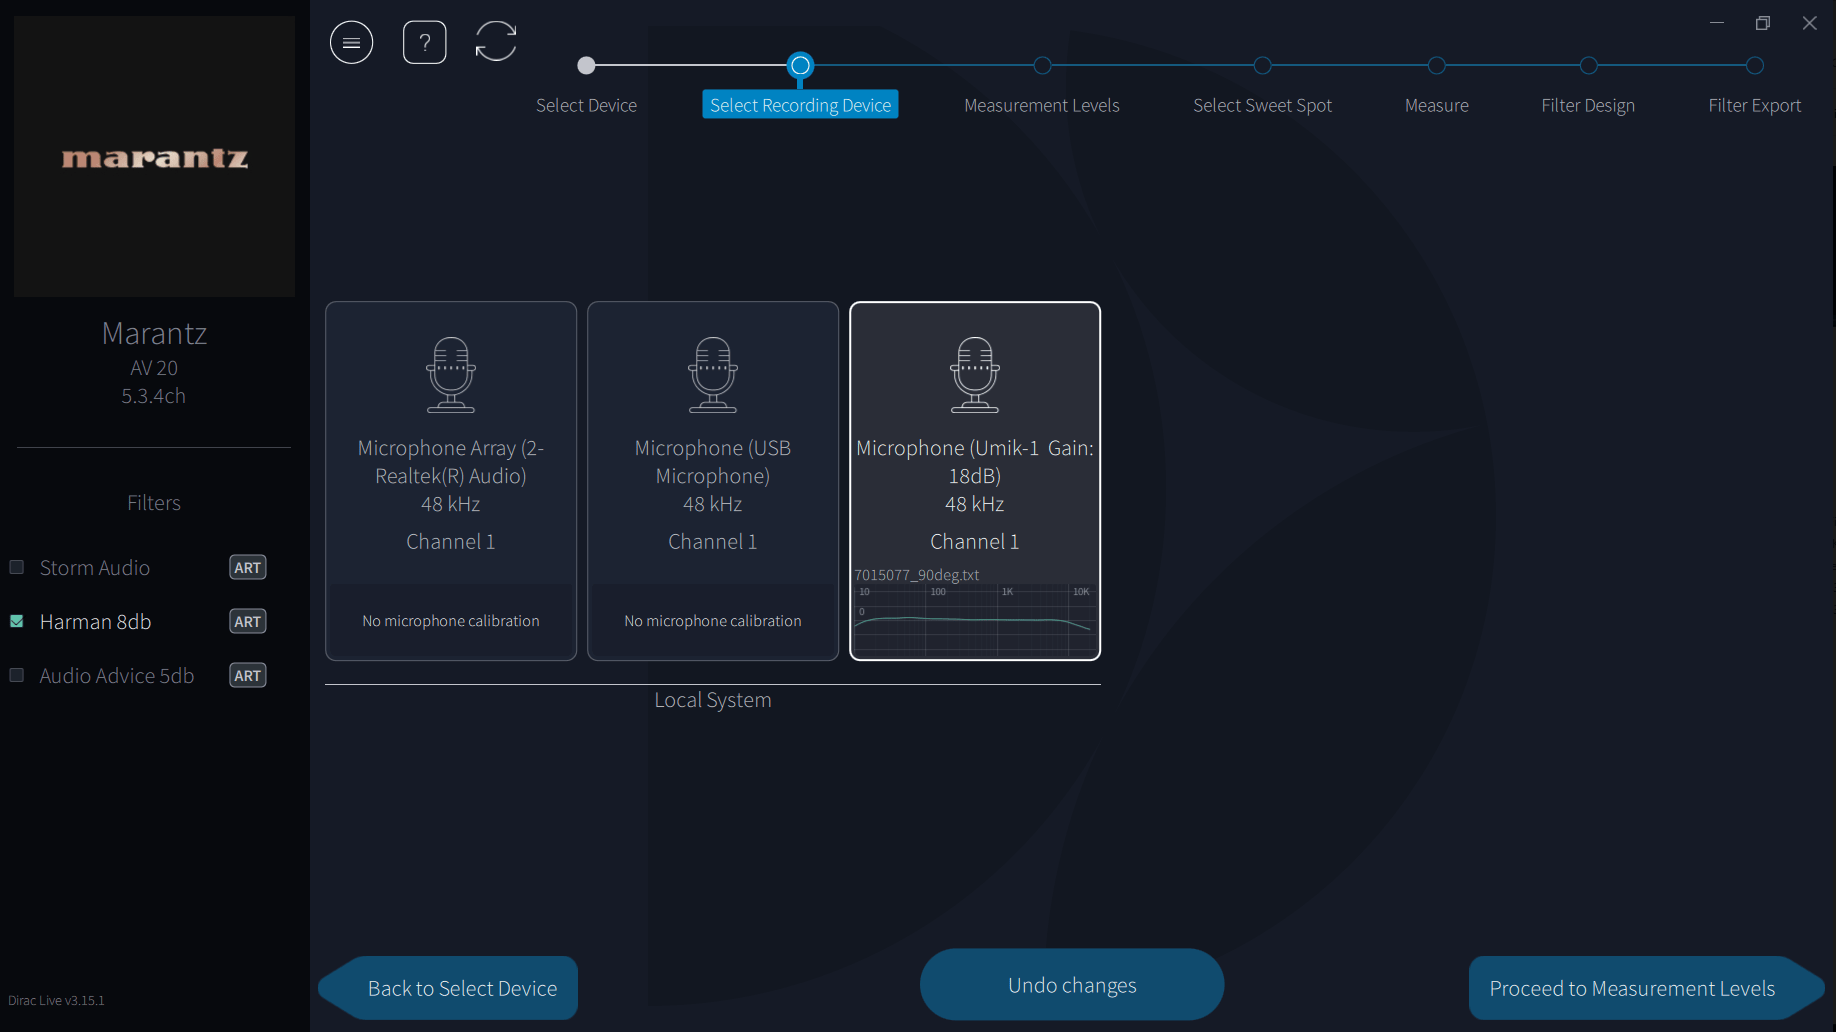
Select your microphone
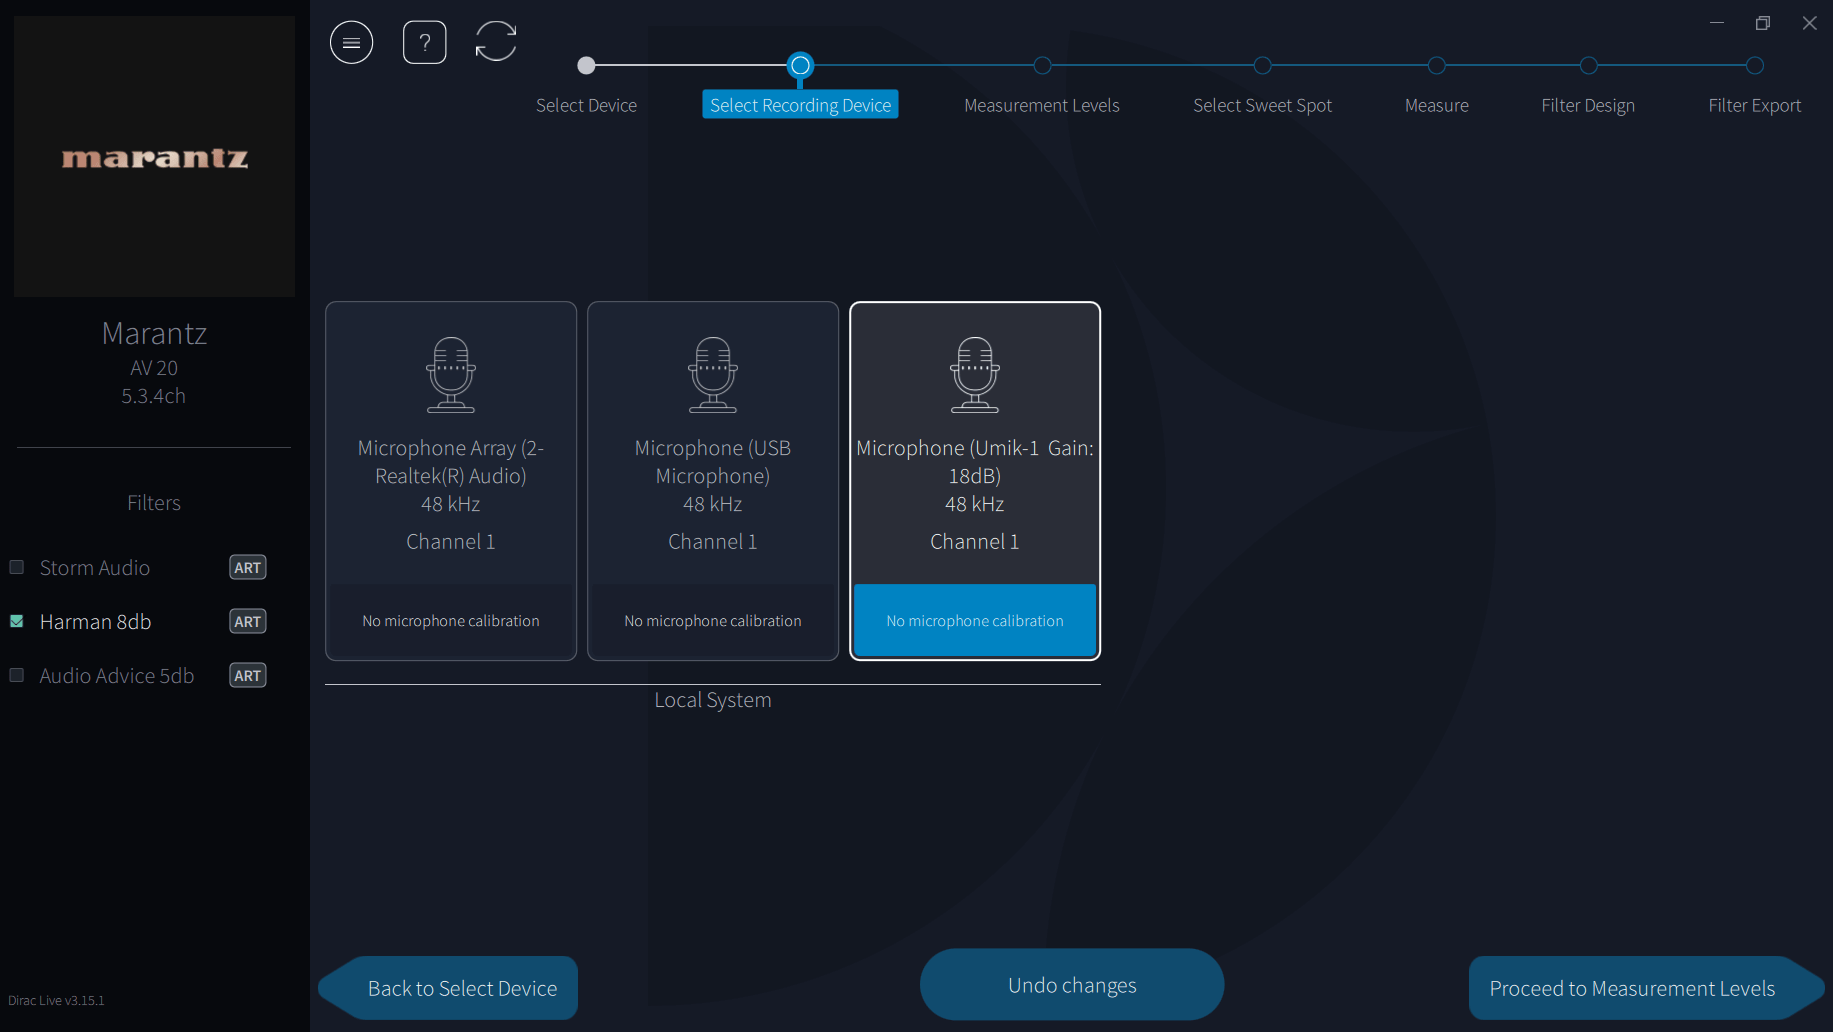
- Plug in your microphone. A UMIK goes into the computer. A mic supplied with your receiver goes into the receiver.
- Choose it in the microphone list.
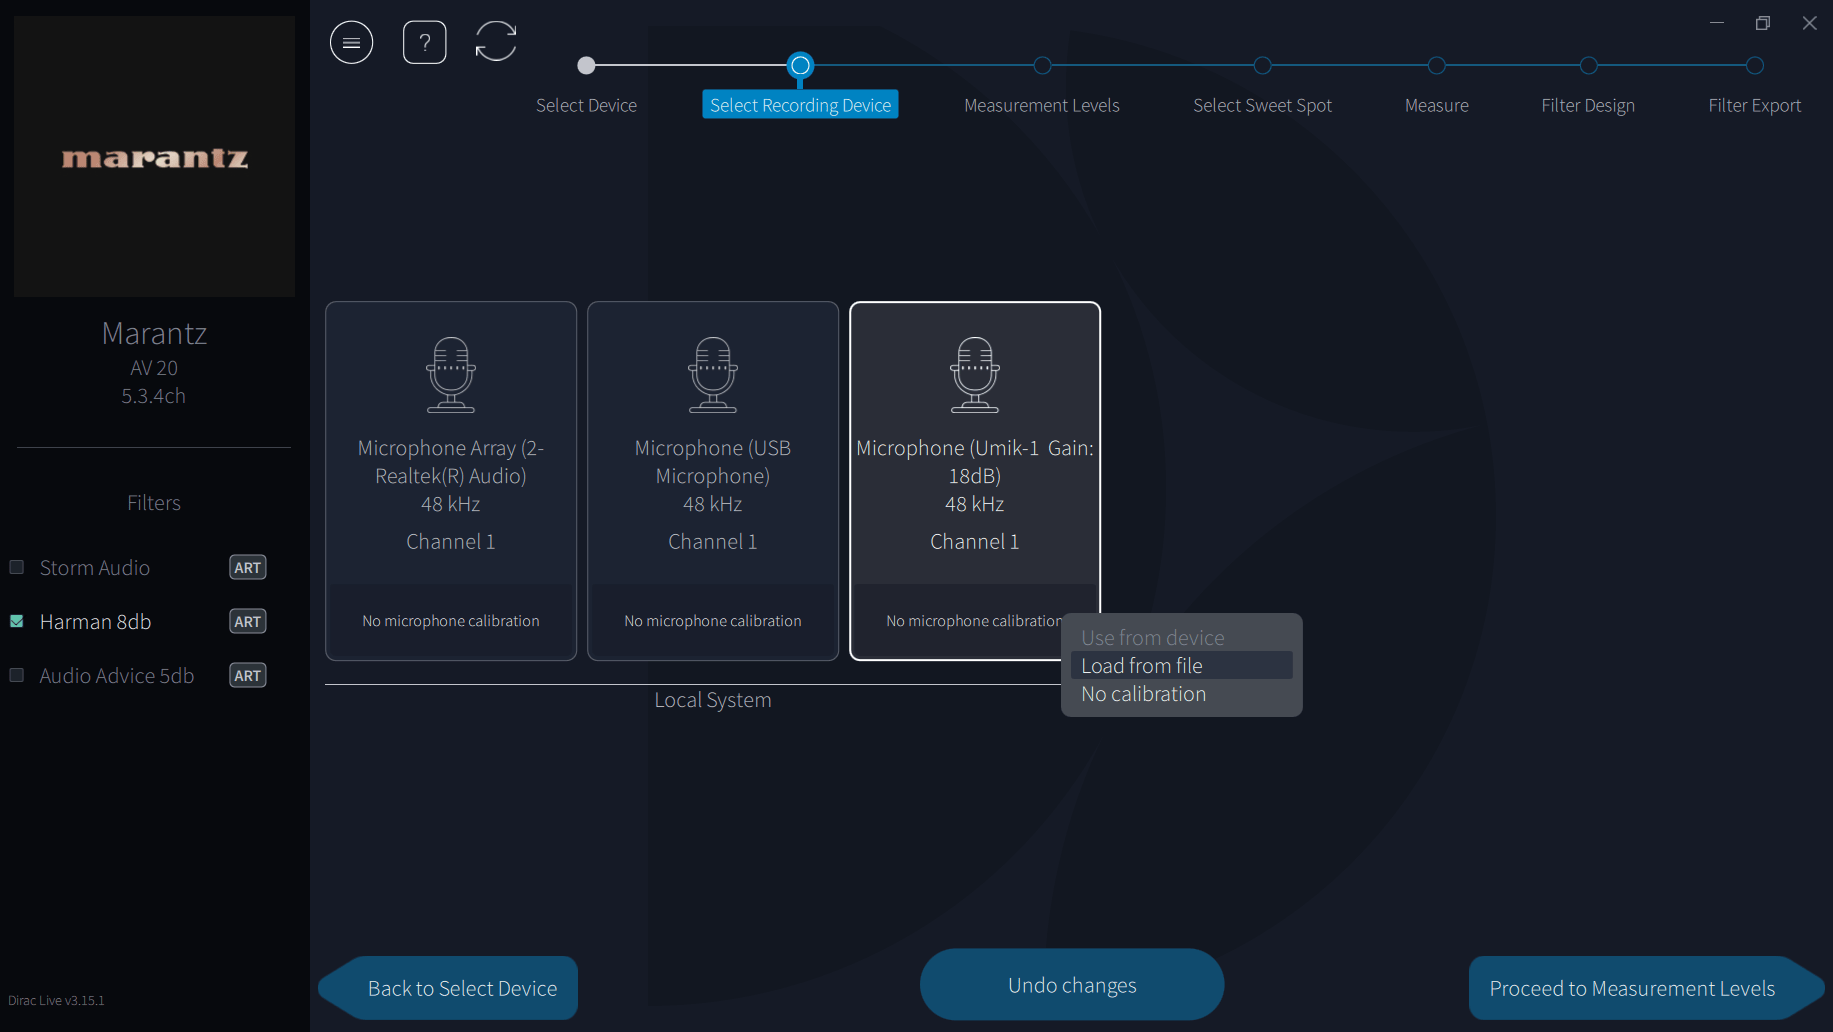
- If you see a red “No microphone calibration” message, click it and load your calibration file (see Step 2). Receiver-supplied mics load theirs automatically.
- Click Proceed to Volume Calibration.
Already measured before?
If you have a saved project from an earlier session (a file ending in .liveproject), use the menu and choose Load Project. You go straight to filter design without measuring again. The receiver’s Speaker Layout must be the same as when you saved the project.
Next step
Step 4: Set your measurement levels
Connected? Set the levels before you measure anything.
Connection problems in more detail
Advanced
Dirac Live finds devices by discovery on your local network. Anything that separates the computer from the receiver breaks that: guest Wi-Fi, client isolation on a mesh system, a VPN, or a computer on a different subnet. Putting both on the same router, ideally with the receiver wired, rules most of this out. The manual IP option skips discovery entirely, so it’s the quickest test of whether discovery is the problem.
While Dirac Live is connected, some receivers (Denon and Marantz, for example) show a communication screen and can’t be operated. If the connection drops mid-session, press BACK on the remote to return the receiver to normal and restart Dirac Live.
Why the Speaker Layout matters
Dirac builds a filter for each channel that exists when you measure. If the layout changes afterwards, the receiver’s filters no longer match its channels, and receivers such as Denon and Marantz delete them with a “Device data inconsistent or unsupported” message. Settle the layout, including height speaker positions and subwoofer count, before you start.